Tag: outdoor decor
-

How I Built a Magical Lamppost Village on My Patio — And Couldn’t Stop Staring at It
See how I built a DIY lamppost with a floating copper birdhouse village, a handmade forged medieval lamp, a copper cupola, and world directional signs — with every material, step, and detail.
-

Custom Walnut Wall Mount for Kebab Skewers
Six handmade Armenian shish kebab skewers turned into wall art. Custom walnut display with an engraved Semenov family crest, sealed with Spray Max 2K clear coat for outdoor patio life.
-

IKEA KUNGSFORS Outdoor Kitchen Hack: Stainless Wall Storage
IKEA KUNGSFORS isn’t just for indoor kitchens. See how I built sleek stainless wall storage for my outdoor bar — plus a JB Weld hack for hanging cups.
-

How I Built a Floating Outdoor Photo Gallery on My Patio Wall
Four black-and-white Paris photos, aluminum prints, PVC backing, and 45mm standoff brackets — the full step-by-step build for turning a covered patio wall into a floating outdoor gallery.
-
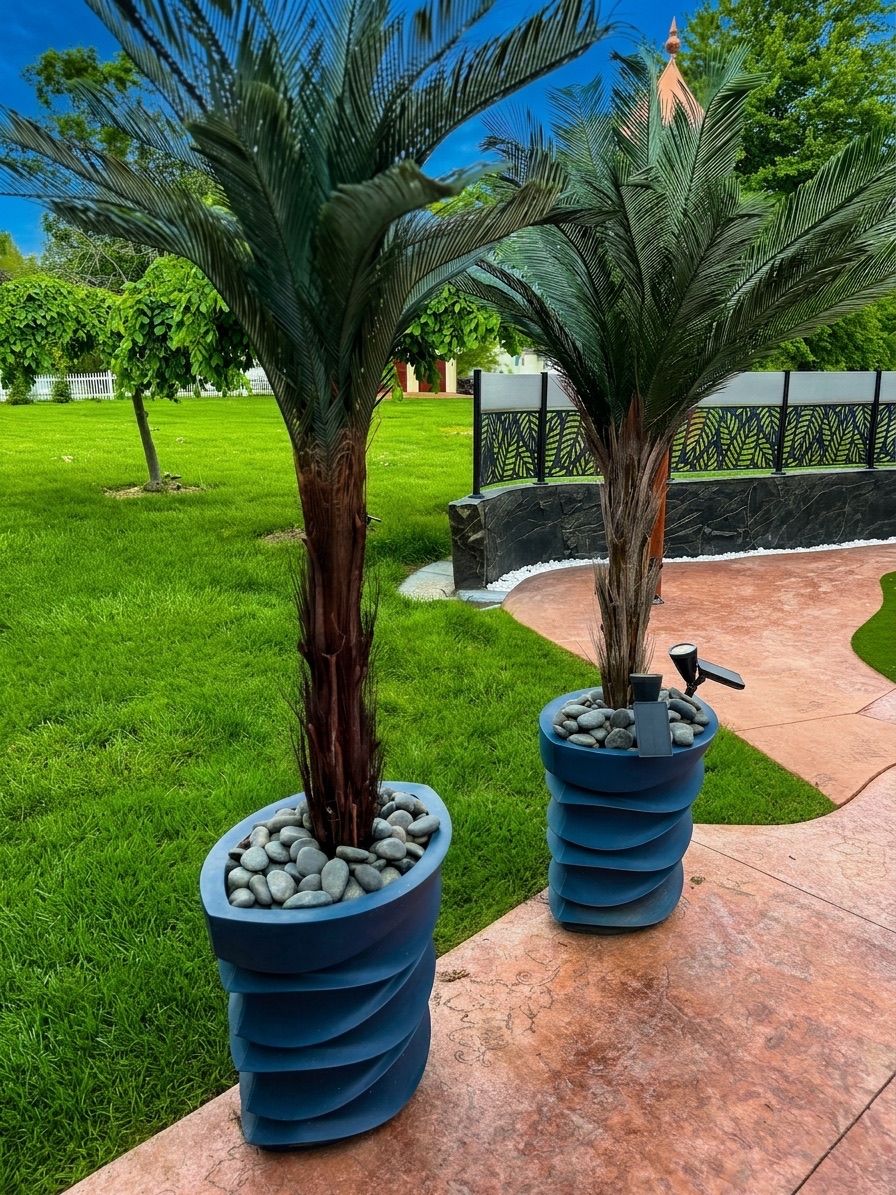
How to Anchor Artificial Palm Trees in Planters (So They Won’t Tip Over)
Stop your artificial palm tree from tipping over. This foam-and-brick anchoring method keeps faux palms rock-solid in windy conditions — without making the planter impossible to move. Step-by-step from a real patio build.