Tag: modern patio makeover
-
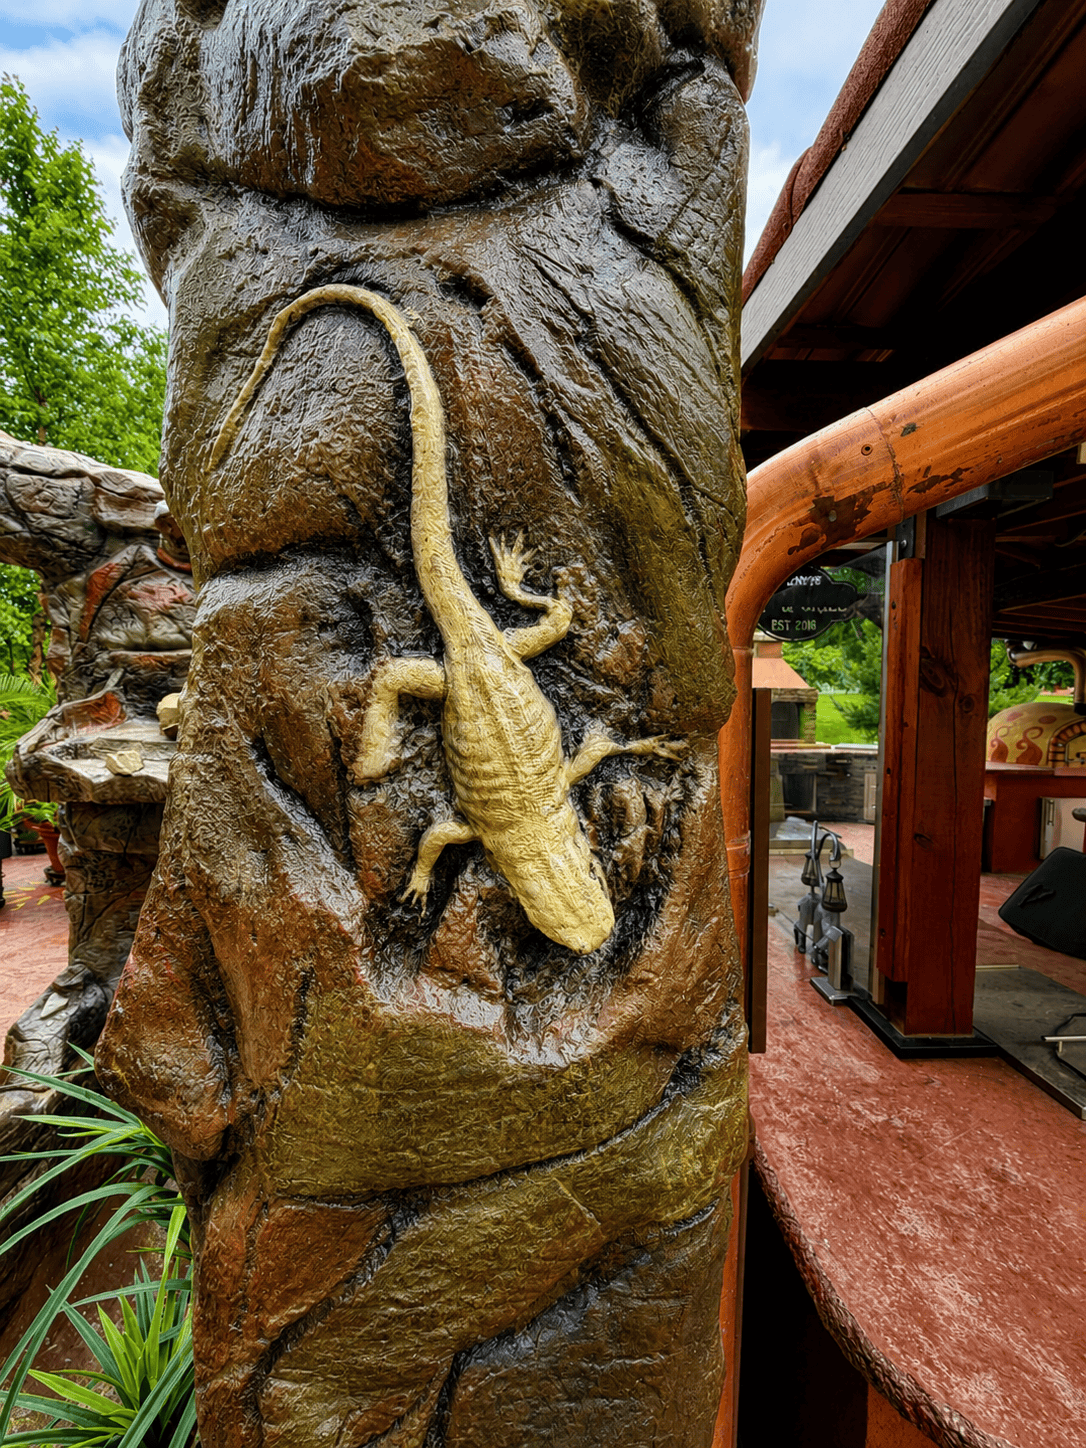
I Built an 8-Foot Concrete Fountain on My Patio With Zero Experience — Here’s How It Went
I built an 8-foot concrete fountain from scratch on my patio with no experience — cascading water, LED lights, a misting system, and a lot of lessons learned.
-

DIY Patio Room with Outdoor TV, Home Bar & Modern Fireplace
Follow my DIY enclosed patio room build — transforming our covered patio into a modern four-season living room with a steel frame, composite walls, and a 72-inch fireplace.
-
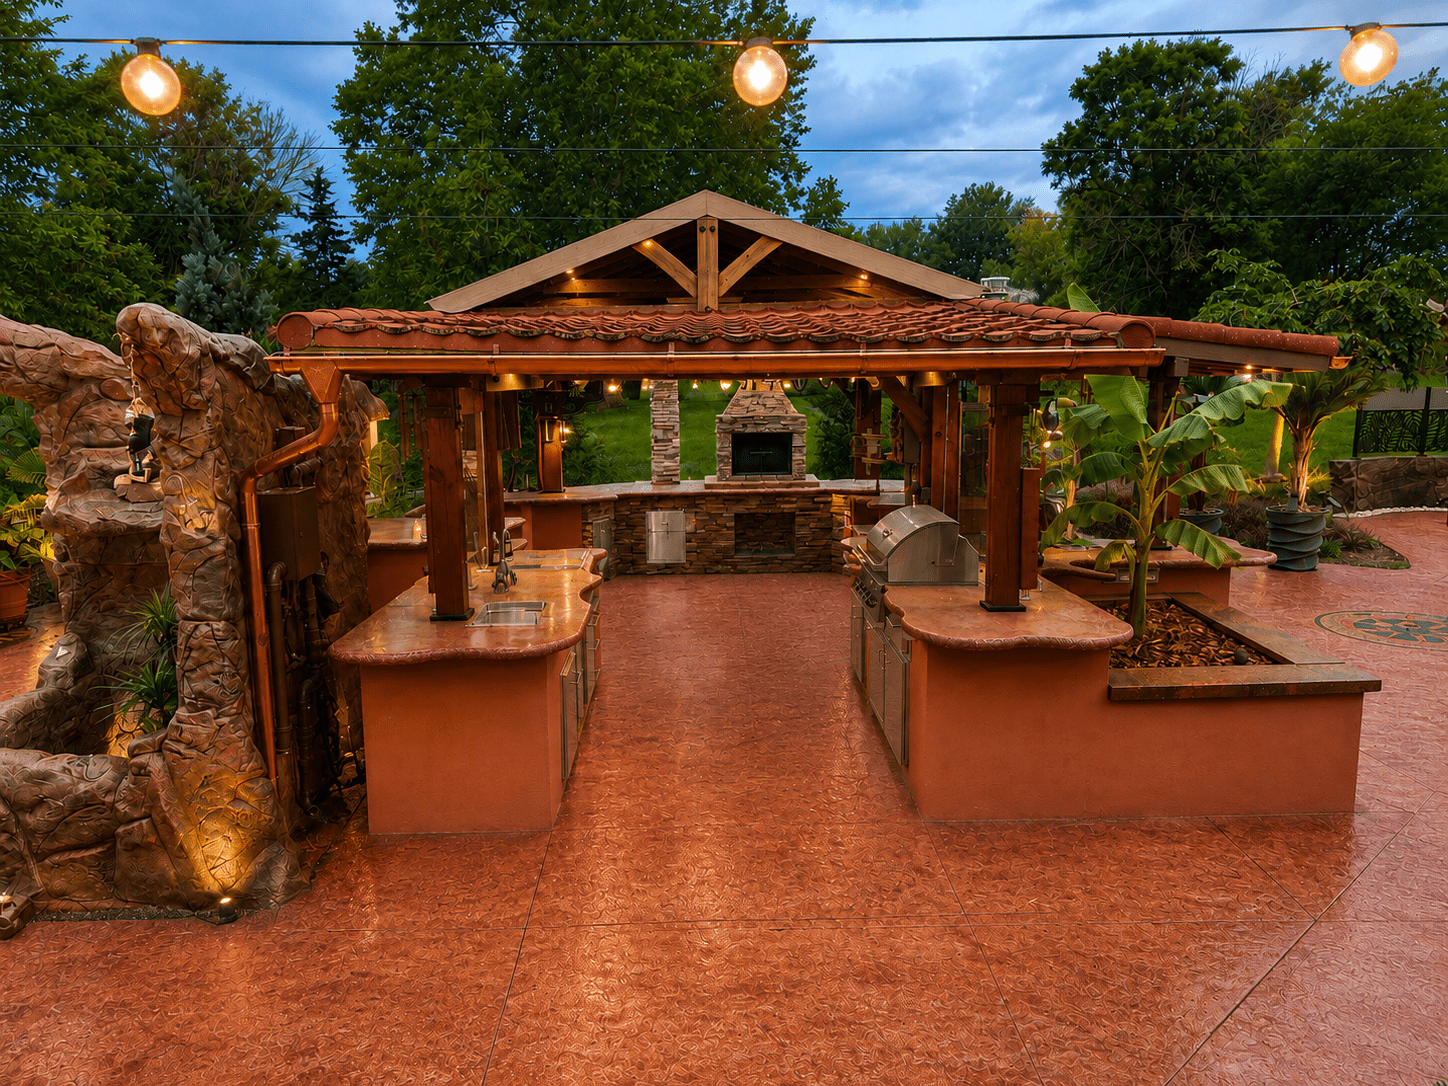
DIY Outdoor Kitchen: How I Turned a Sam’s Club Gazebo Into a Backyard Paradise 3x Its Size
Quick Overview It sat in my garage for six months — a $999 cedar gazebo kit my wife and I grabbed on clearance at Sam’s Club on a whim. After we finished our deck project, I finally pulled it out. But that 10×10 footprint just wasn’t going to cut it. So I tripled it. Here’s…
-
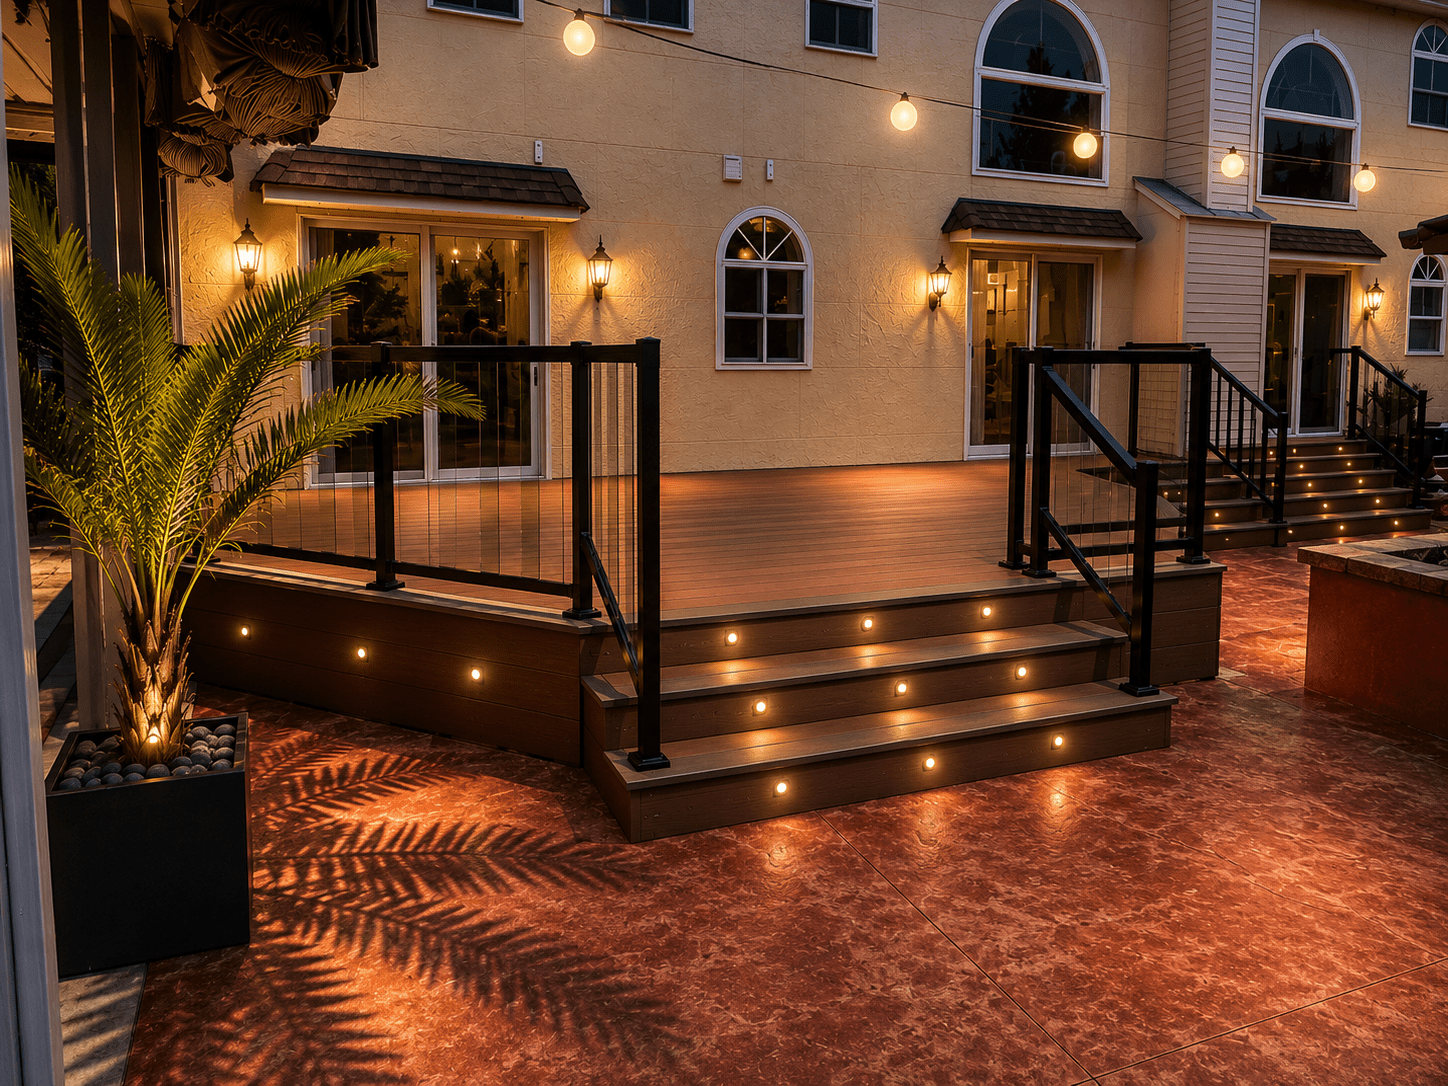
DIY Composite Deck Rebuild with Glass Railings + LED Lighting
How I rebuilt my old wood deck into a two-tone composite picture-frame deck with aluminum glass railings and three-channel LED lighting. Five-week DIY build log with hidden fasteners, modern skirting, and a concrete pad pour.
-

Custom Walnut Wall Mount for Kebab Skewers
Six handmade Armenian shish kebab skewers turned into wall art. Custom walnut display with an engraved Semenov family crest, sealed with Spray Max 2K clear coat for outdoor patio life.
-

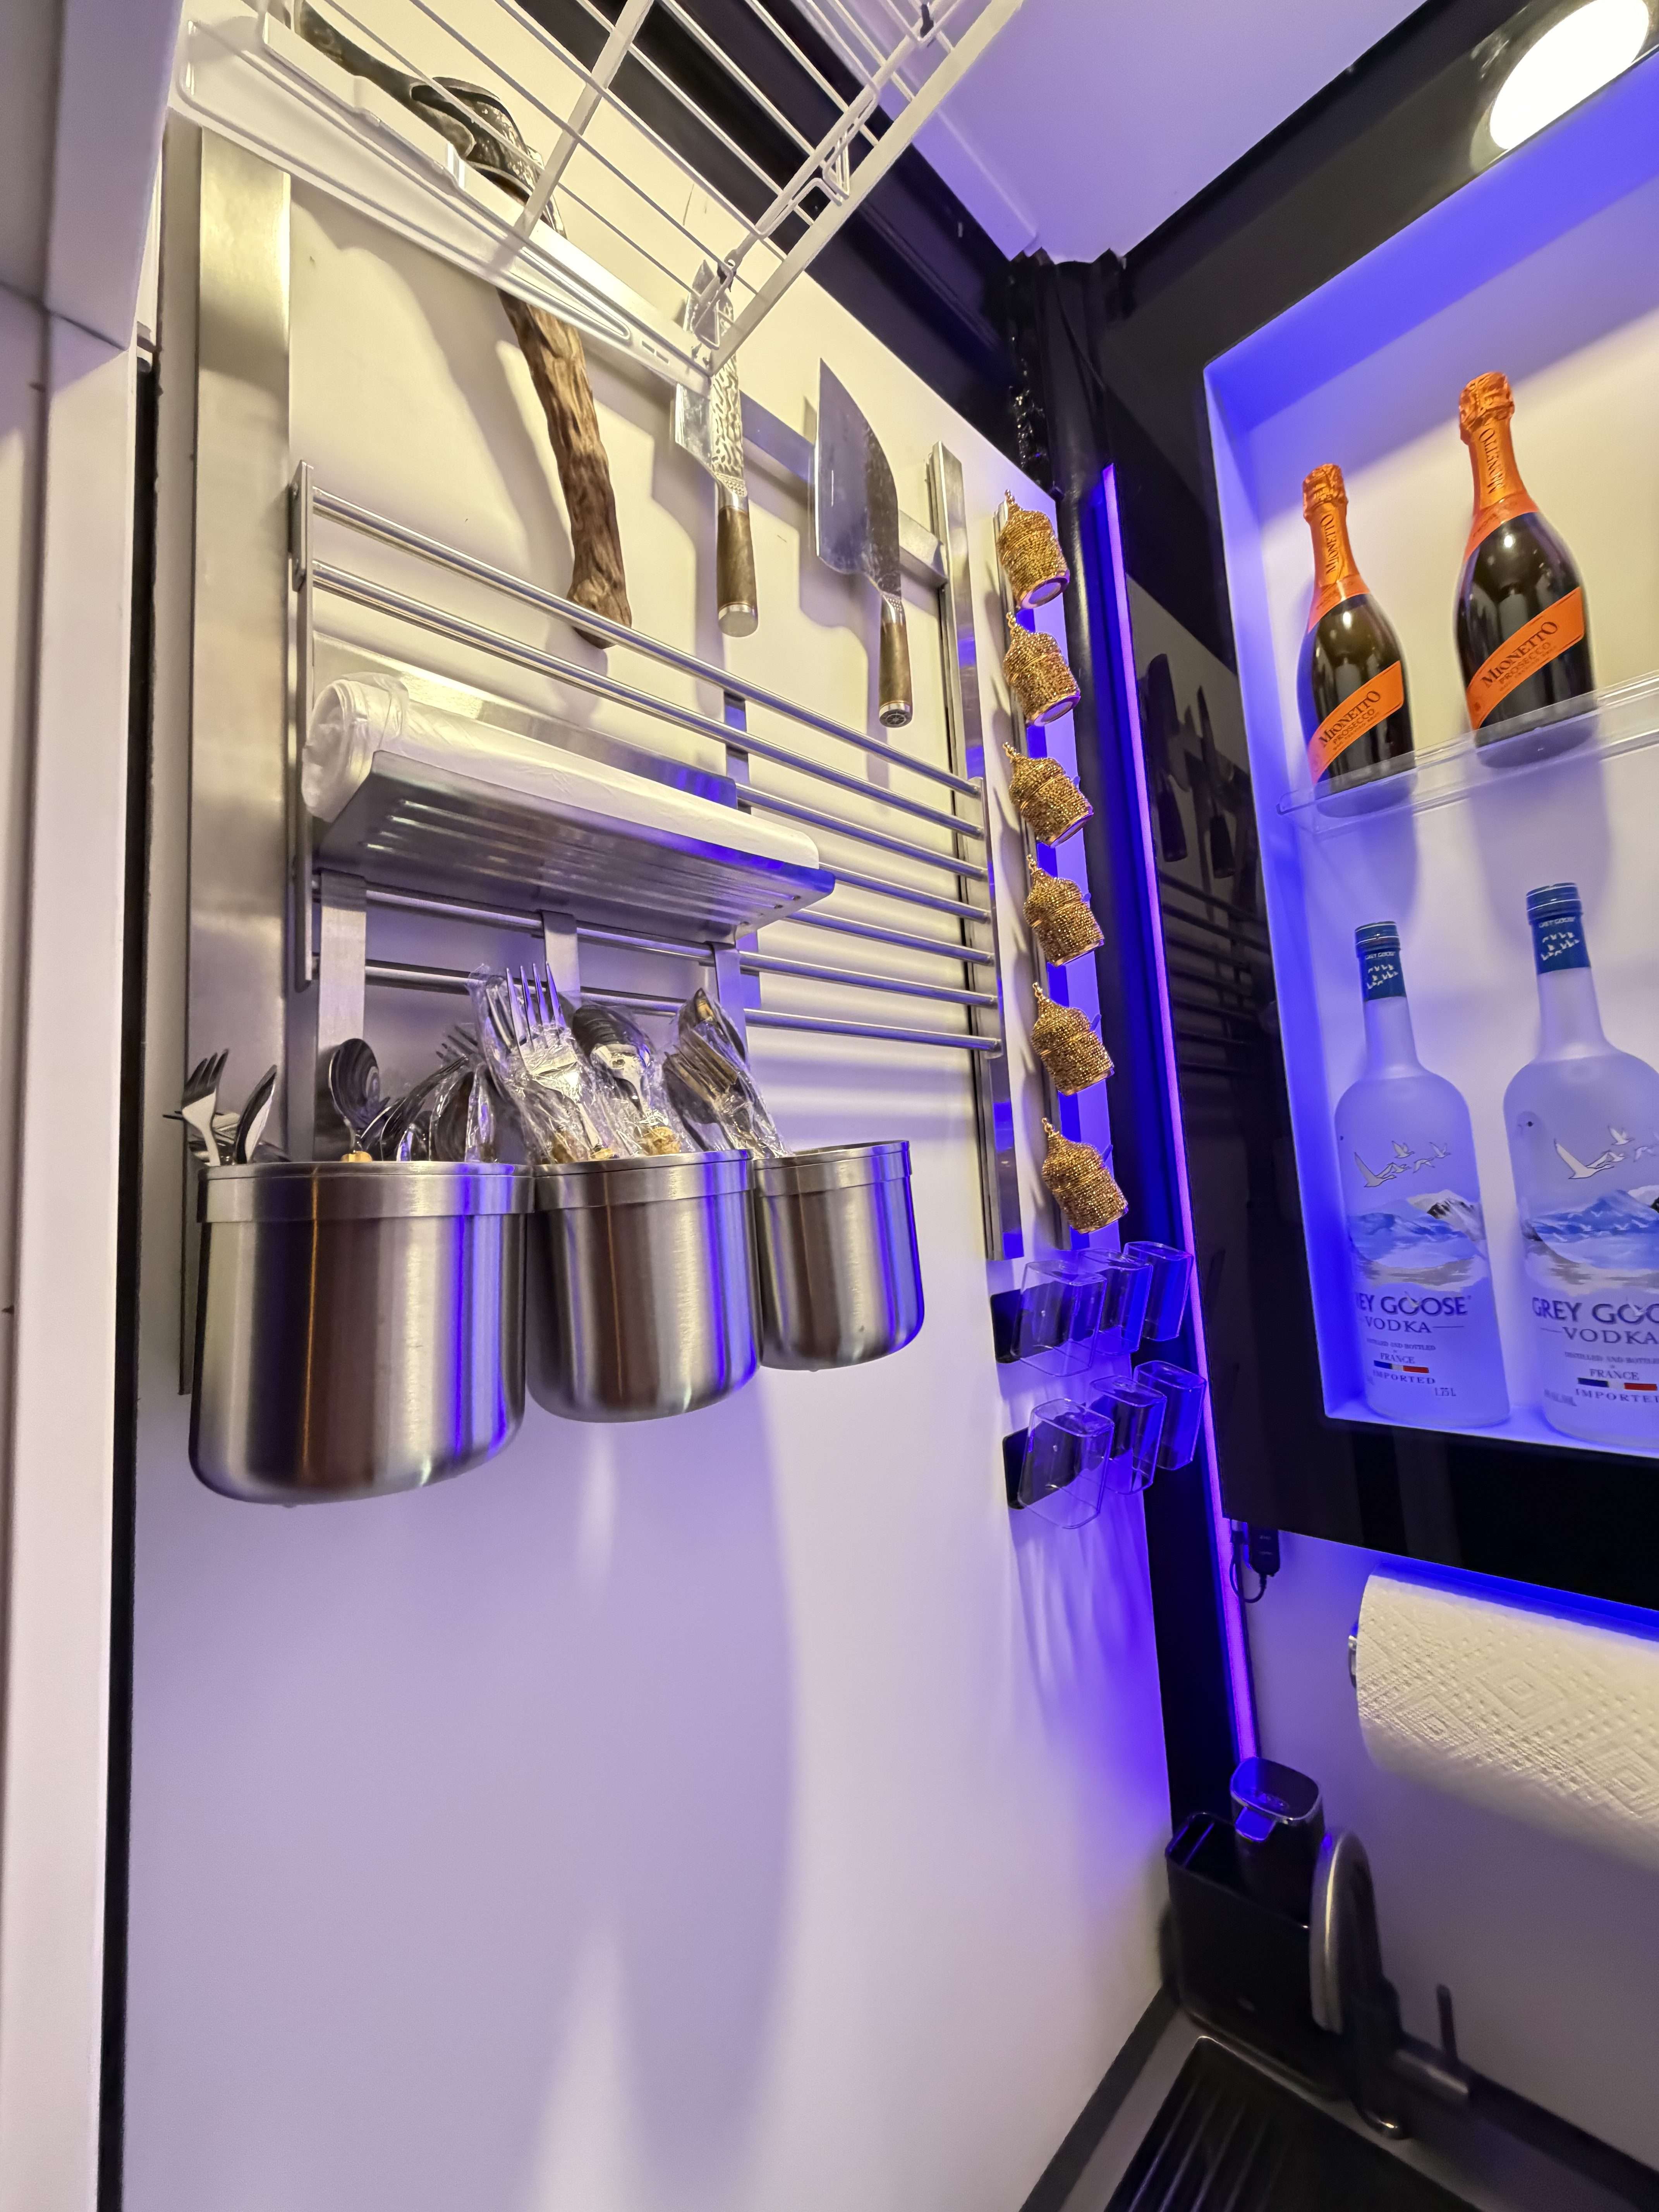
IKEA KUNGSFORS Outdoor Kitchen Hack: Stainless Wall Storage
IKEA KUNGSFORS isn’t just for indoor kitchens. See how I built sleek stainless wall storage for my outdoor bar — plus a JB Weld hack for hanging cups.
-
DIY Patio Bar in 40 Inches: How I Built an Enclosed Outdoor Coffee + Cocktail Room
I had a 40-inch dead corner of my covered patio. Instead of a planter, I turned it into a fully enclosed DIY patio bar with coffee station, cocktail storage, hidden electrical hub, and WiFi LED lighting. Full build with parts list.
-

How I Built a Floating Outdoor Photo Gallery on My Patio Wall
Four black-and-white Paris photos, aluminum prints, PVC backing, and 45mm standoff brackets — the full step-by-step build for turning a covered patio wall into a floating outdoor gallery.
