Tag: outdoor wall art
-
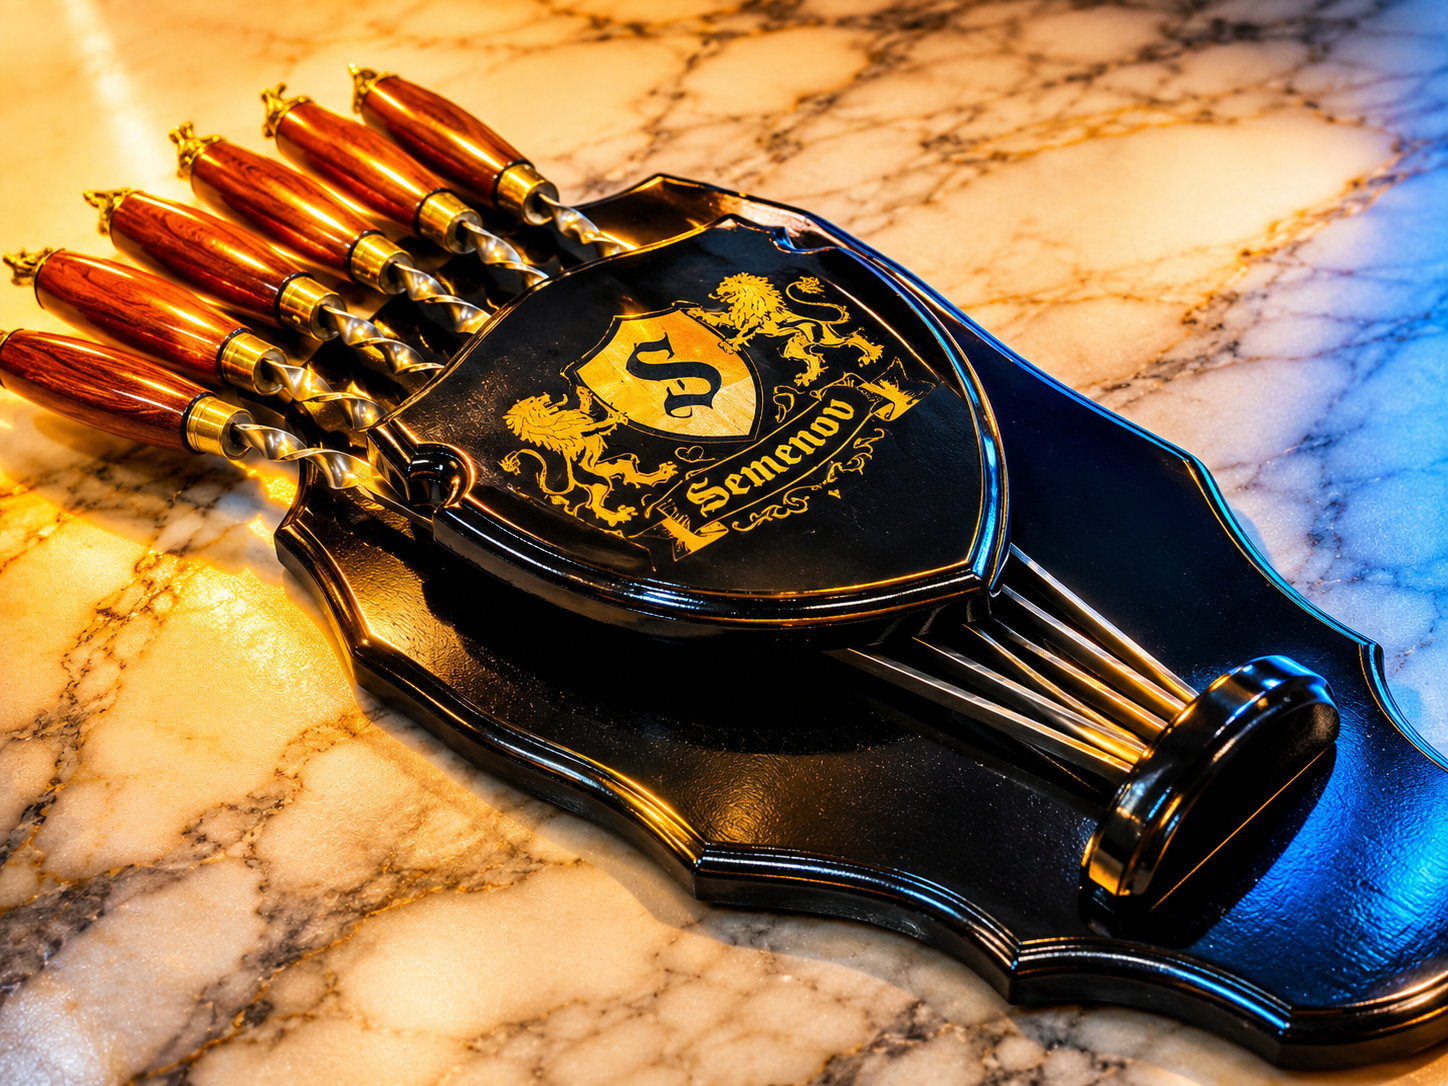
Custom Walnut Wall Mount for Kebab Skewers
Six handmade Armenian shish kebab skewers turned into wall art. Custom walnut display with an engraved Semenov family crest, sealed with Spray Max 2K clear coat for outdoor patio life.
-

How I Built a Floating Outdoor Photo Gallery on My Patio Wall
Four black-and-white Paris photos, aluminum prints, PVC backing, and 45mm standoff brackets — the full step-by-step build for turning a covered patio wall into a floating outdoor gallery.